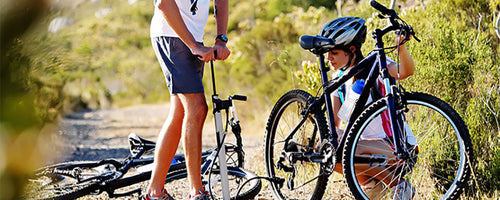
Your complete, top to bottom Bike Tune-up checklist

It's been a long, cold, lonely off-season for your bike and now it's time to show it a little love.
It's time to dust those cobwebs off — literally — and get back on the road or trails. Making sure you take the time to check your bike over for obvious issues like flat tires or bent rims is a given but completing our Bike Tune-up Checklist only takes minutes and will help prevent any damage down the road.
Step 1: Wash
After pulling your bike out of storage, you'll want to give it a good wash. This will get rid of any dirt that has accumulated and make it easier to find any issues at a glance. This will also help to keep your paint looking bright and extend the lifespan of the frame. Don't forget to dry it off!
Step 2: Tire Pressure
Your tires will lose air after being stored for a while so check the pressure with a pressure gauge and fill them up to the manufacturer’s recommendations.
Step 3: Spokes
While you're down there, check to make sure all your spokes are straight and tight. If any are loose, use a spoke wrench to get them back in line.
Step 4: Brakes
Like your car's brake pads, your bike's brakes take a beating. Inspect them for wear and replace them if they look a little thin. Make sure they are tight and make contact with your tires without sticking. Don't forget to check that your cables for any fraying or nicks and replace them if necessary.
Step 5: Gears
Turning your bike upside down, use your pedals to slowly run through the gears to make sure everything shifts smoothly, and that the chain is centred on each gear.
Step 6: Chain
While you're watching the chain shift gears, check it for tension. It shouldn't move more than half an inch. A loose chain can come off mid-ride and a too-tight chain can bind and damage your gears. Chains can stretch over time, so if it's too slack, it might be time for a replacement.
Step 7: Lubrication
To keep everything moving smoothly, apply lubrication to all moving parts. This includes your front and back gears, wheel bearings, crankset etc.
Step 8: Seat
To avoid an uncomfortable ride, double-check that your bike seat is adjusted to the proper height and that your seat cover is still in good shape. Your seat is at the right height when your leg is completely straight at the 6 o'clock position.
Step 9: Safety Gear
Replace any safety light batteries and make sure that your helmet still fits. Over time the foam used in helmets can become brittle from exposure to the sun, your sweat, hair products etc. We suggest replacing your helmet every 3- 5 years.
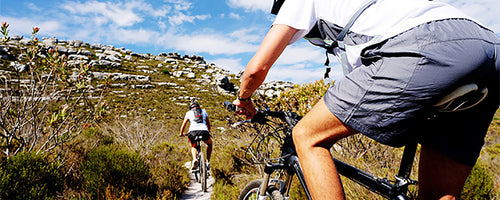
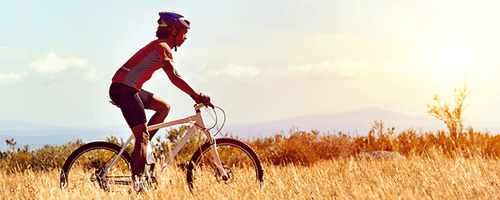
Step 10: Enjoy the Ride!
You can now hit the road with confidence knowing that your bike is ready for adventure.
If you need any advice or want help tuning up your bike, consult with your local Source for Sports trained bike expert. They'll help get you back in the saddle in no time!
For expert advice on bikes and bicycle gear and equipment that is right for your ride, level of experience, and budget, come see us at your local Source for Sports bike store near you. We Fit Your Game.
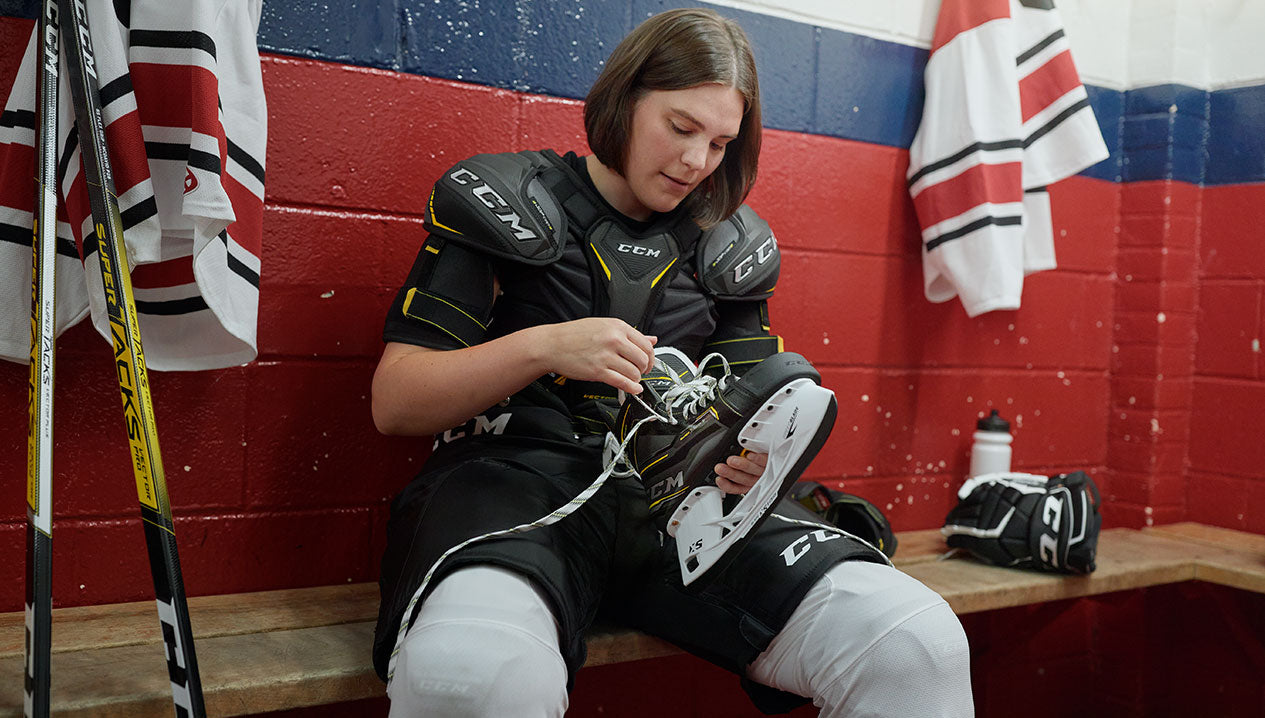
Before you hit the ice, shop the latest and greatest from the best brands in hockey this season.
Join Source Nation to get the latest news on product launches, Source Exclusive product lines, tips and tricks for parents and players, and more!